
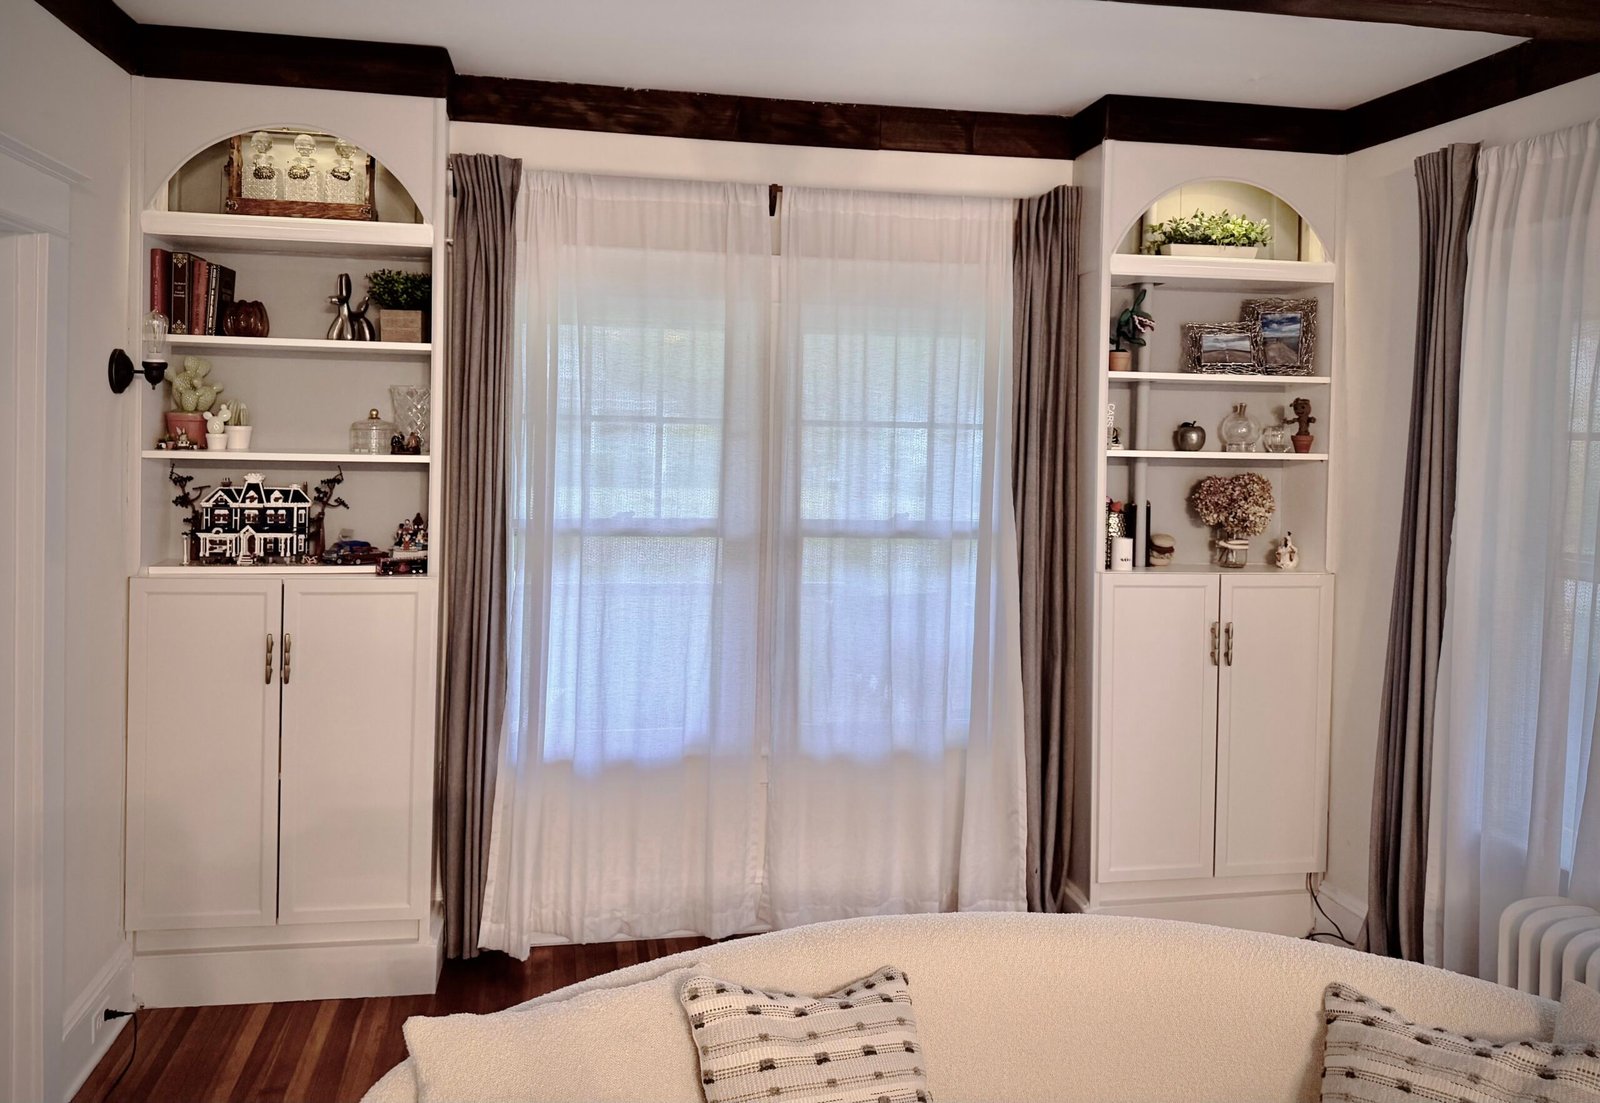
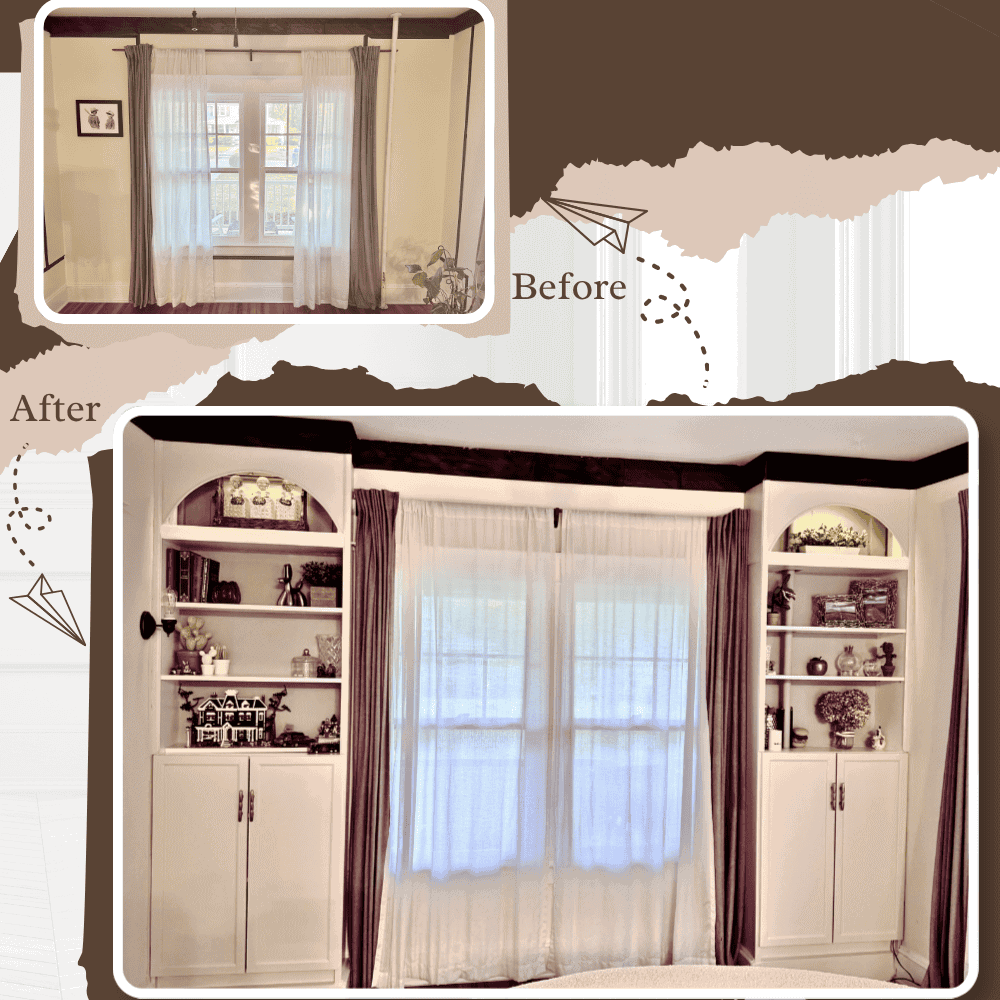
IKEA Billy bookcases are a DIY staple, but with a few tweaks, they can look like high-end custom built-ins. This is the perfect project for small spaces that need a big storage upgrade. Here’s how to do it!
The Gear
- IKEA Billy Bookcases
- Trim/Molding & 1×2 boards
- Wood filler & Caulk
- Paint (matched to your wall or contrasting color)
- Power drill & Stud finder
Step 1: Plan and Assemble
Measure your wall to see how many units you can fit. Assemble the bookcases according to the IKEA instructions, but leave the back panels off if you want your wall color to show through.
Step 2: Build Base and Secure Shelf to the Wall
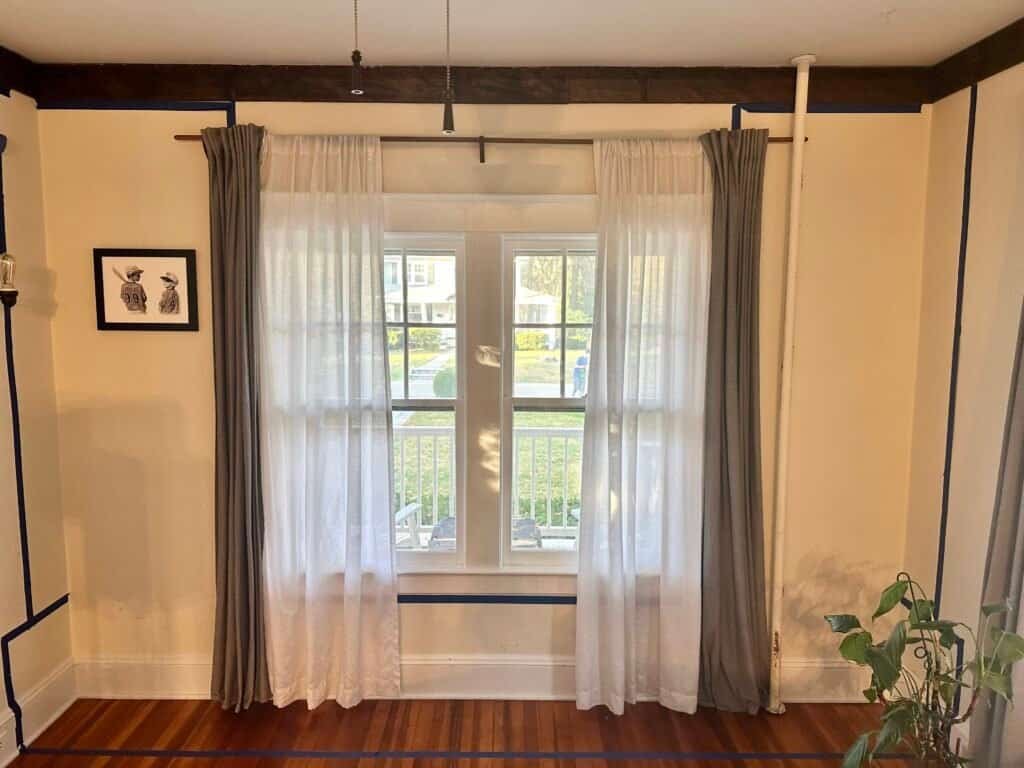
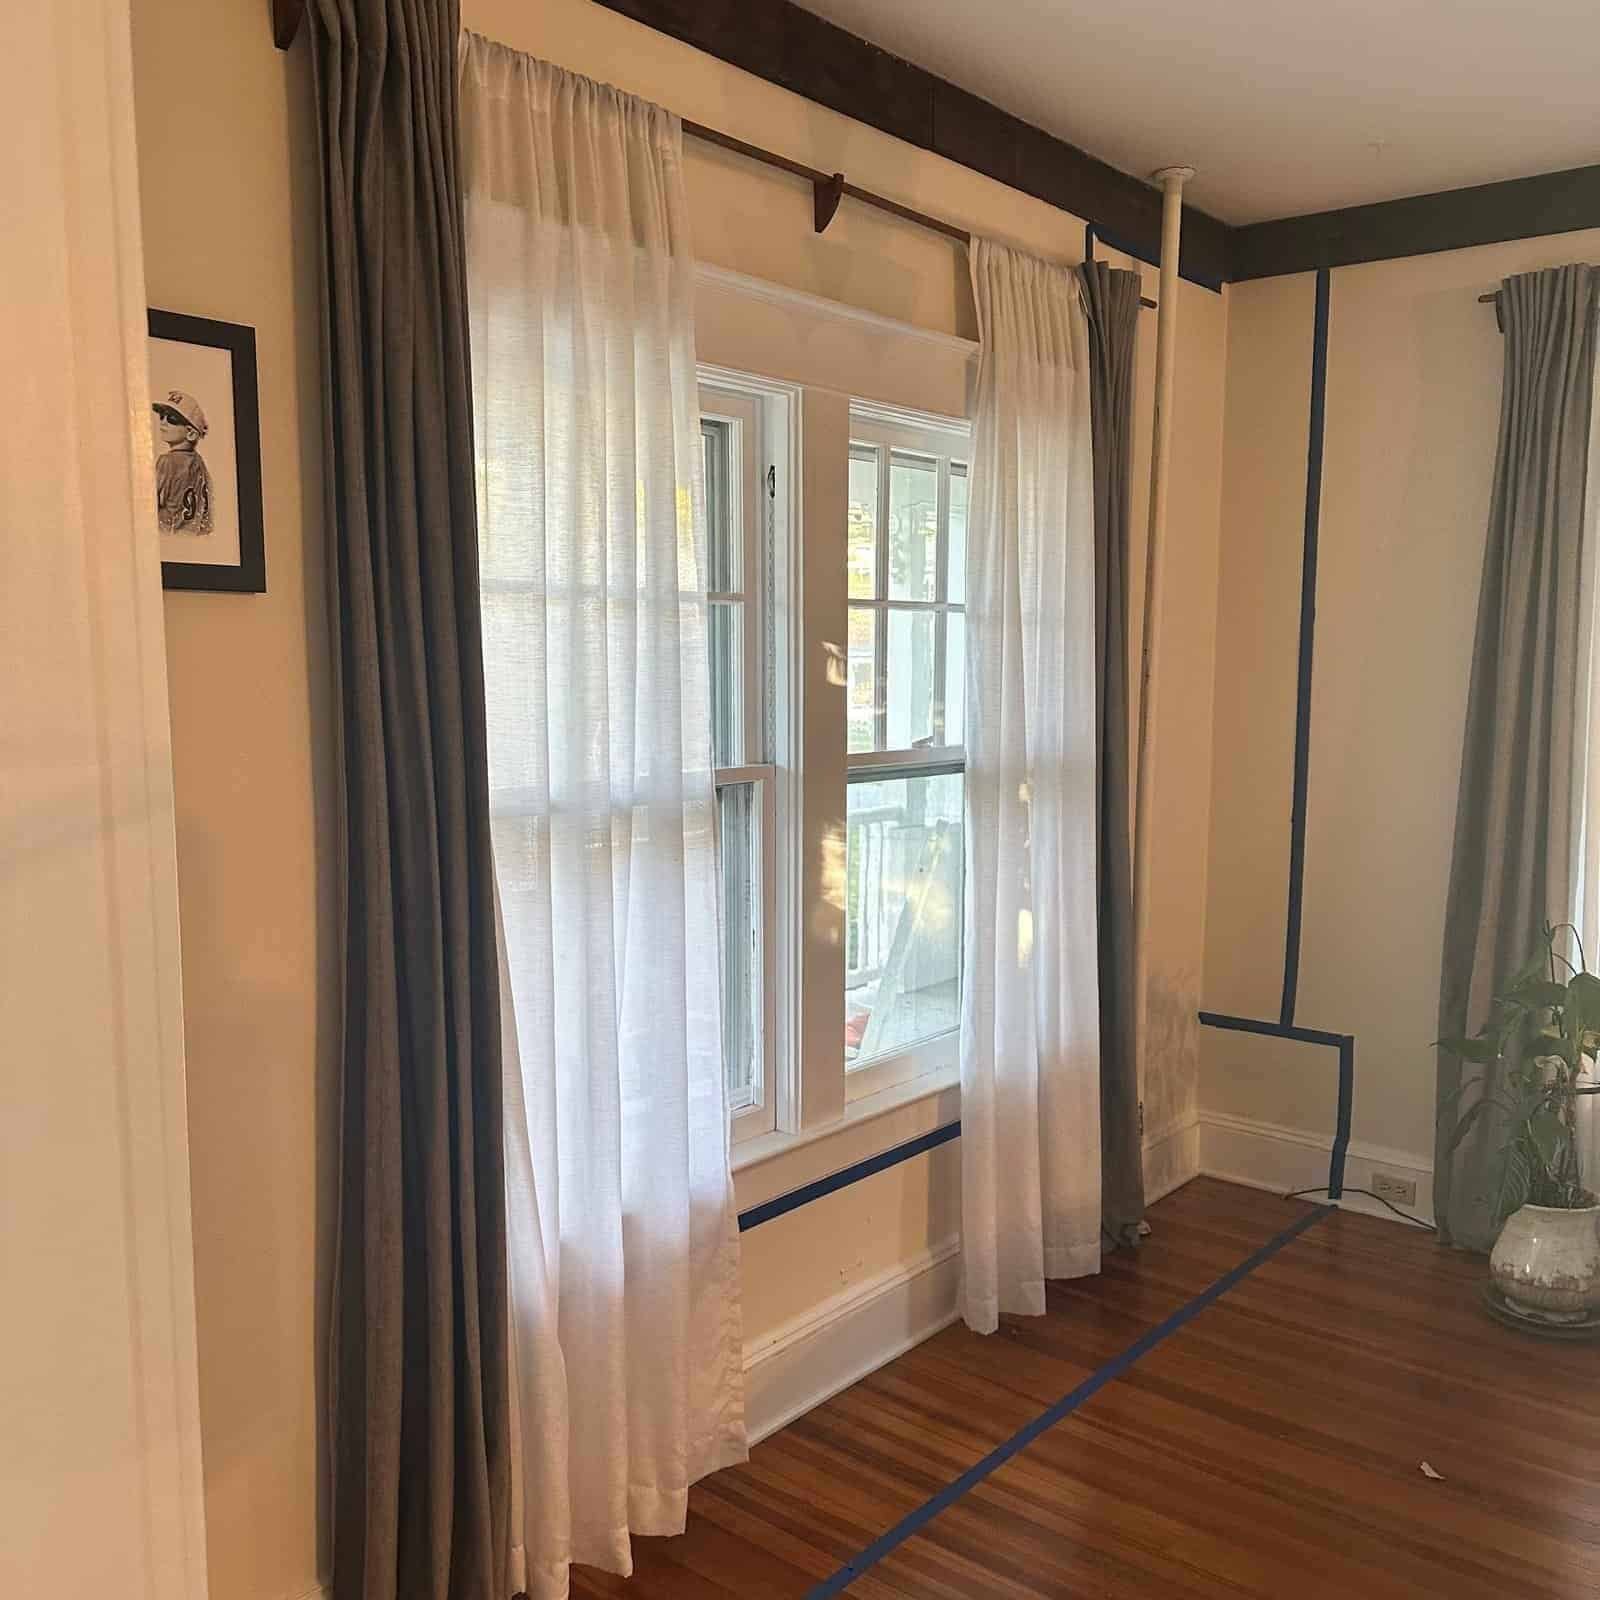
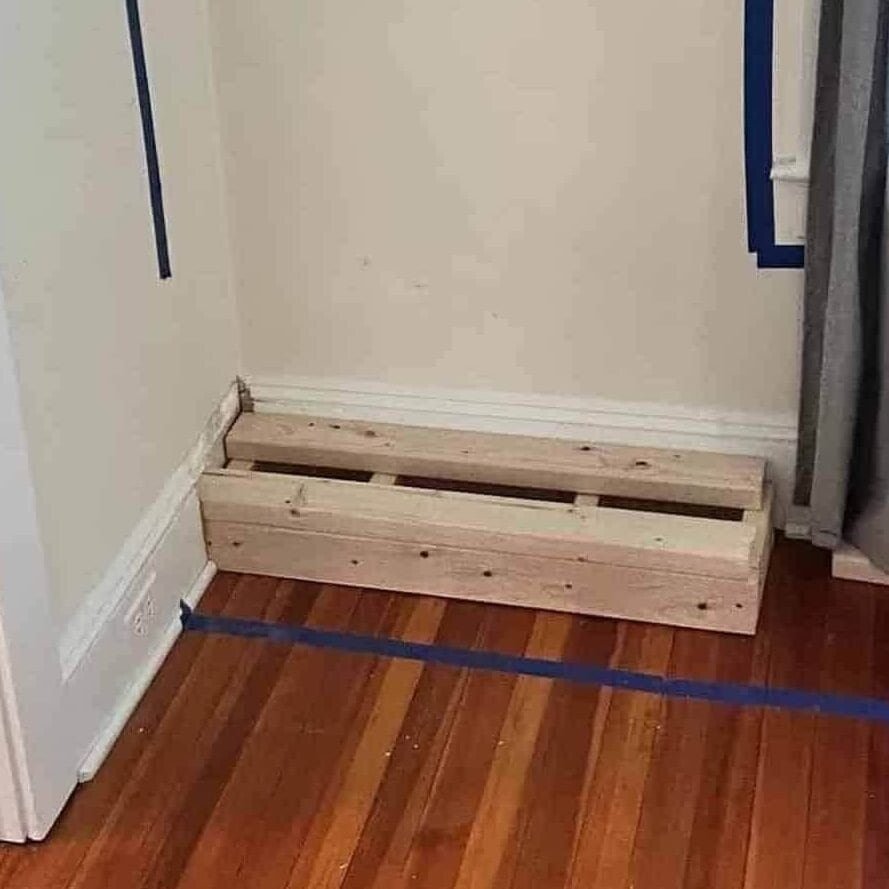
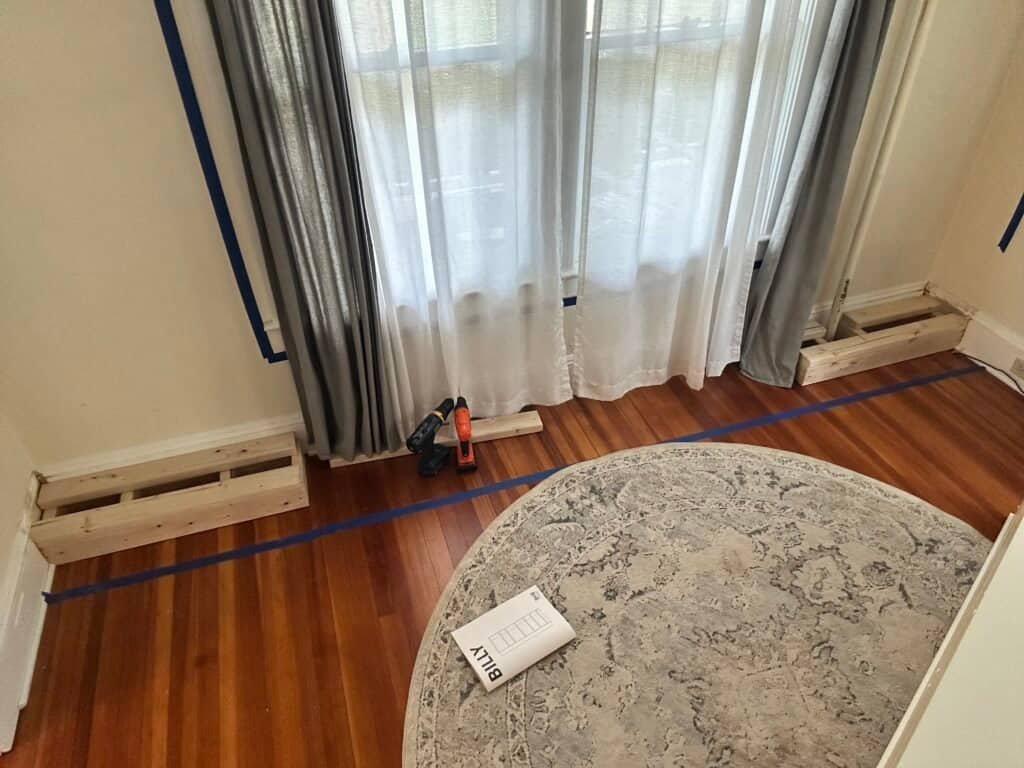
To get a more elevated look, I built a base out of 2x4s to prop the units up. This allows you to run your baseboards across the bottom for a seamless look. Measure your footprint, screw the 2x4s into a ladder-style frame, and ensure it’s level before securing it to the floor or wall studs.
Once the base is ready, lift your units on top and secure them to the wall studs using a stud finder.
Step 3: Extend to the Ceiling
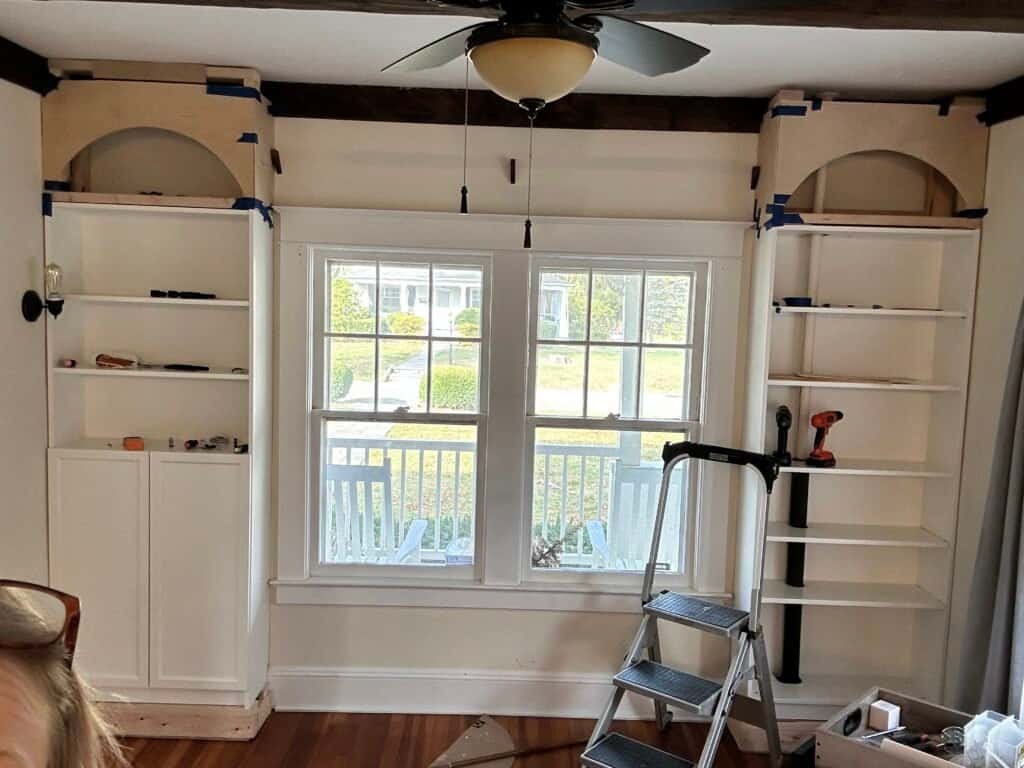
To make the unit look truly custom and extend it all the way to the ceiling, I used more 2x4s to build a top frame. By securing these to the top of the bookcases and the ceiling joists, you create a solid structure to attach your crown molding or top trim. This also eliminates that awkward dust-collecting gap at the top and adds incredible height to the room.
Step 4: The “Built-In” Magic
Next it’s time to add the shelves and close the gaps. To bridge the gaps between units and the walls, nail 1×2 boards or decorative trim across the vertical seams and around the edges.
Fill the adjustable shelf holes with wood filler and caulk every single seam where the trim meets the bookcase or the wall. Once sanded and painted, those lines will disappear.
Step 5: Paint and Style
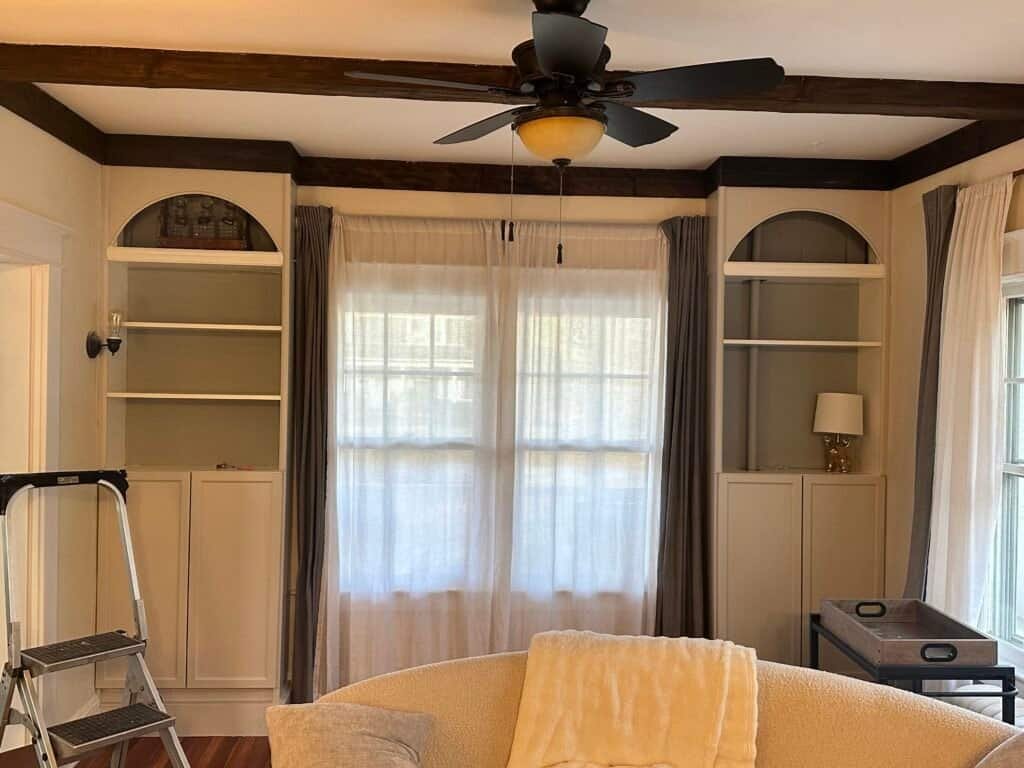
Paint the bookcases and trim the same color as your wall. Add your favorite books and some baskets for hidden storage to keep the small space looking tidy.
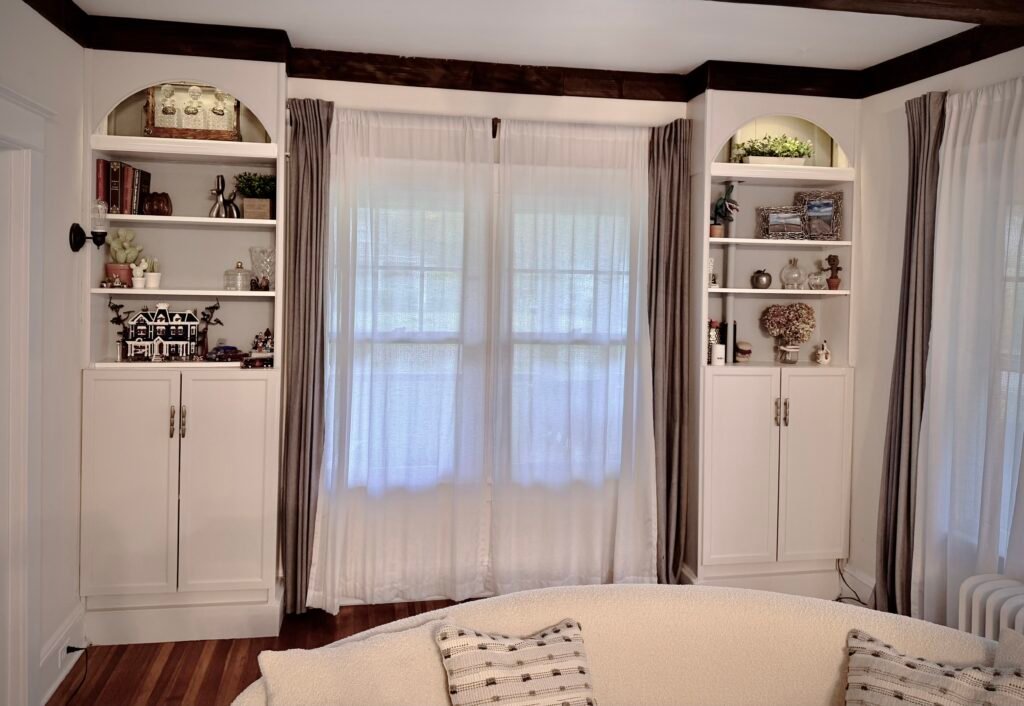
The Result
You’ve just turned basic flat-pack furniture into a custom architectural feature! It’s stylish, functional, and budget-friendly.
Are you planning an IKEA hack? Let me know in the comments!