Does your entryway feel like a clutter magnet? Same here—until I transformed a simple shelving unit into a sleek built-in! It’s budget-friendly, beginner-friendly, and packs a big style punch. Here’s how I pulled it off (and how you can, too)!
Ready to DIY?
Inspired to try it yourself? Grab the materials and tools I used—links are in the description. Let’s transform your space, one project at a time!
Shop the Products
Note: Some links in this post are affiliate links, meaning I may earn a small commission at no extra cost to you. Thanks for supporting my DIY projects!
Step 1: Measure and Shop Smart
First, I measured my space to find the perfect fit. After some digging, I found an affordable shelving unit on Amazon that worked like a charm. Bonus: there are tons of options to match your space. I’ve dropped links above for easy shopping!
Step 2: Quick and Easy Assembly
Putting this together was a breeze! The instructions were clear, and no fancy tools were needed. If you’re new to DIY, don’t sweat it—this is a great starter project.
Once assembled, it looked great as-is, but I knew I could level it up with a few custom touches.
Step 3: Make It Look Built-In
To give it that built-in magic, I added trim around the edges and caulked the gaps. These little tweaks made a hugedifference! Then, I painted the whole thing to match my walls, instantly upgrading the look. A simple baseboard at the bottom tied it all together, making it look seamless and custom.

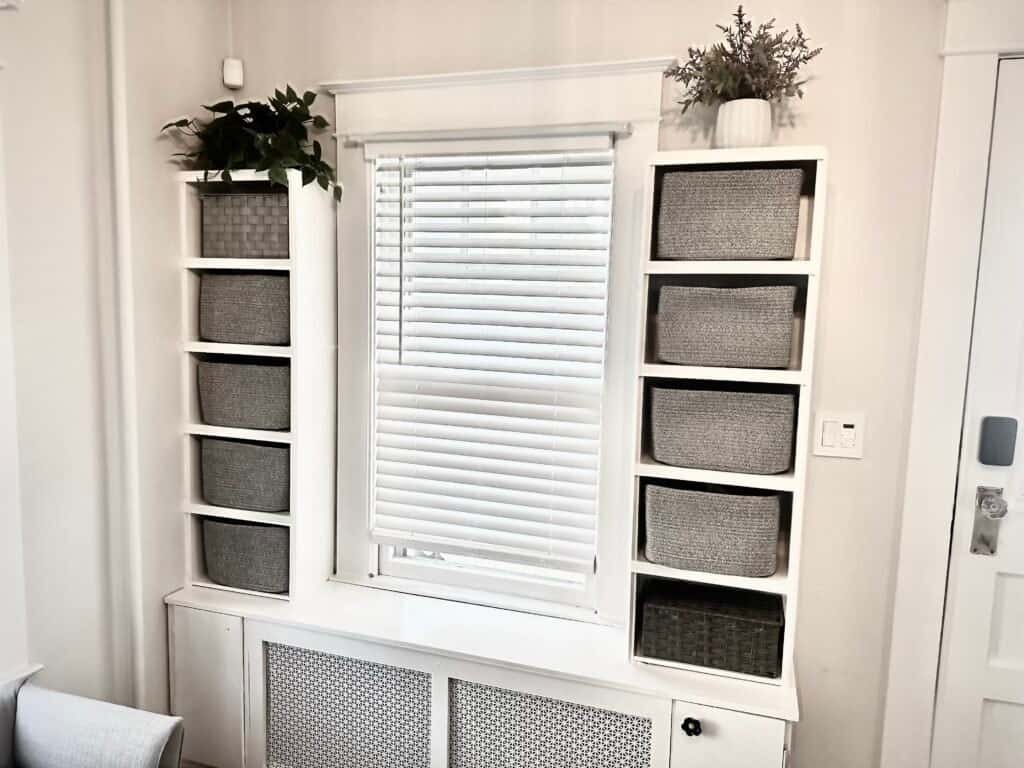
Step 4: Add Baskets for Storage
Next, I added baskets to the shelves—one for each kid’s hats and gloves (a must-have in cold New York winters) and others for random entryway clutter. It’s stylish and practical! I’ve linked some great basket options in the description.